
An outdoor turtle pond is the best haven for the turtle. Turtle pond construction is similar to fish ponds and typical pond construction.
As an illustration, the filtration system above the ground in turtle ponds must be more potent because turtles exhale much more waste than fish.
If you want to make a turtle pond, you can do it yourself with some helpful instructions. If you have big dreams for a fancy pond with lots of cool features, it’s best to hire a professional pond builder.
Midwest Pond Features and Landscape can bring your dream pond to life! Whether you’re envisioning a serene backyard oasis or a grand aquatic landscape, our skilled team is here to make it happen. From simple and charming ponds to elaborate water features, we’ve got the expertise to turn your ideas into reality. With Midwest Pond Features and Landscape, your perfect pond is just a phone call away.
In addition, evaluate the turtle species to keep in the pond and the hardiness zone. Depending on the location and the turtle species, need to house the turtles inside throughout winter.
If the pet turtle can hibernate in a frozen pond, winterize the pond using the proper methods.
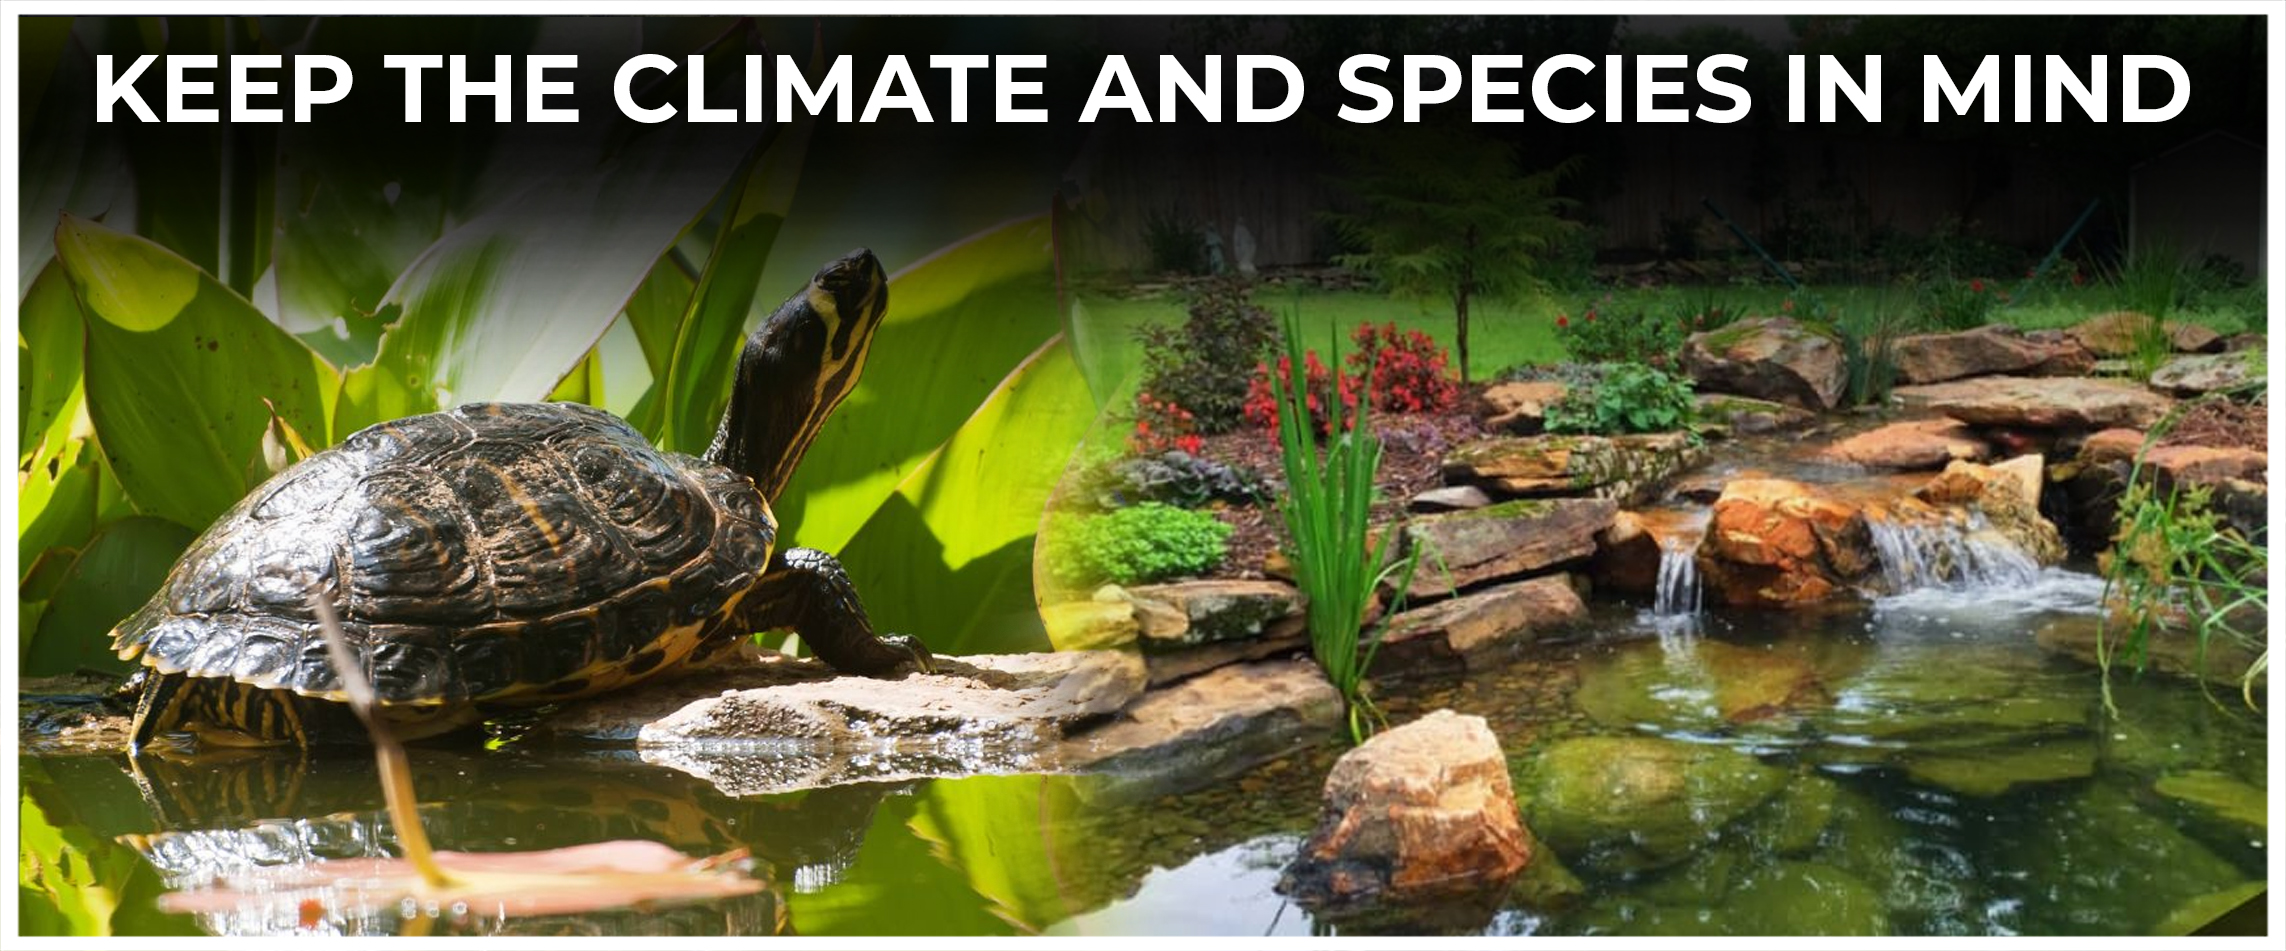
Keep The Climate And Species In Mind
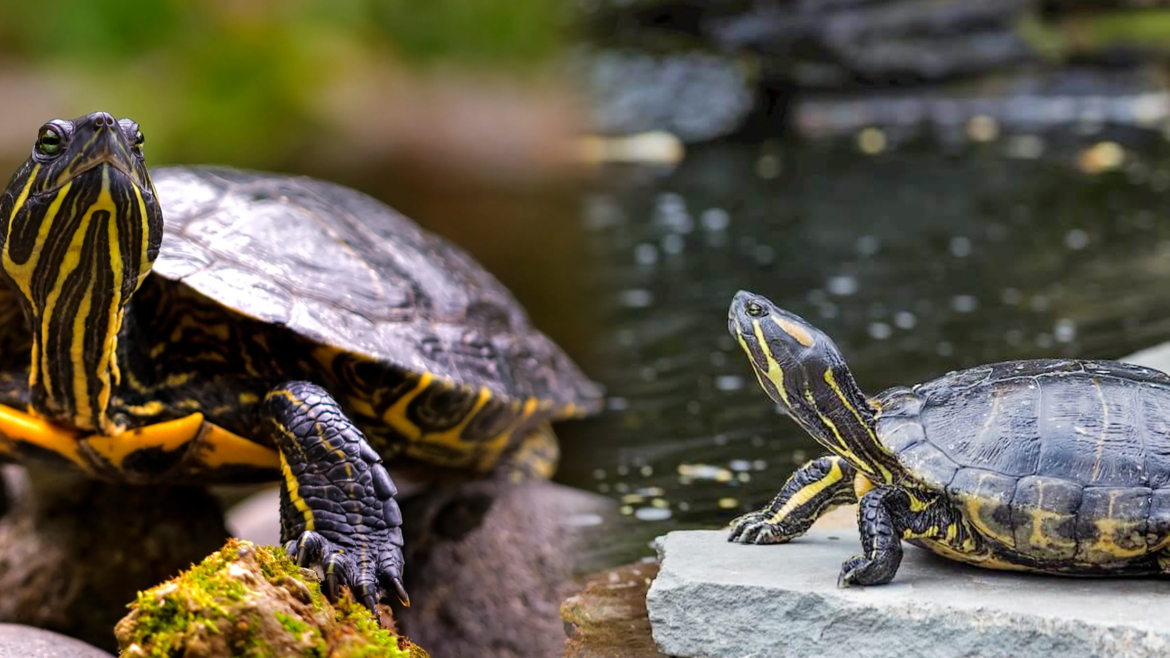
If planning to build an outdoor turtle pond, the ideal option is a species (or species subspecies) endemic to a climate like yours.
Species inhabiting temperate zones, such as mud turtles, map turtles, and snapping turtles, have adaptations to tolerate freezing winter temperatures.
Turtles will better utilize their environment when their pond is in a temperate zone similar to their habitat, for instance, a hardiness zone of 7.
Choosing The Location Of The Pond
Where are the clouds located?
Make sure they capture both direct sunlight and shade. Sunlight is required, so shade is also needed to ensure the turtle can both bask and hide under shade when required.
Position the pond no more than 6 feet from a wall, shed, or house. This will help deter potential predators and minimize the risk of accidental encounters with young wildlife. The Jiminy crickets do that to make the place cooler.
This will benefit the eastern or southern direction since the green sea turtles receive early morning sunshine, which is too cold compared to the proper temperature range accompanying the shade.
However, if the shelter has no shade, it’s an option to design a shelter with shade on top of the turtle cavity to help it go when the shaded area gets overwhelmed by the heat. Remember, turtles are ectothermic creatures with intricate metabolic regulation, moving between warm and more relaxed areas.
Curiously enough, the high rate of algae development also reduces visibility in lakes. Nevertheless, restrict the algae population by raising versatile water plants.
A pond far from trees is a top choice. Even though trees provide cover, the leaves they drop can deter the average bioload in the pond. Leaves and grasses feed the bacteria that bind to the ammonia layers.
Determining The Size Of The Pond
Remembering the size of the pond, between it and the area to work, be realistic. Creating a large pool requires considerable money, which would be spent on the pool structure and its periodic maintenance. It requires more work that is powerful enough.
It can be a good compromise if you don’t have much backyard to spare before deciding on a large pond. It is more economical and low-maintenance than the others.
Finally, the pond’s size will be decided by whether the turtle’s size can be accommodated or considered. Giant turtles need a considerable, sizable pond for habitat, while the tiny ones, when they are just an inch or two in length, require just a tiny pond.
The pond needs to be significant if wanting to provide a home to a colony of turtles. The turtles need to be placed systematically, ensuring everybody is placed appropriately.
It’s quite the norm for a pond no more significant than the thumb to irritate turtles due to their pompous behavior. Nevertheless, that does not mean there would be no space sharing, but the parking attendants can tell if to park in an already occupied spot.
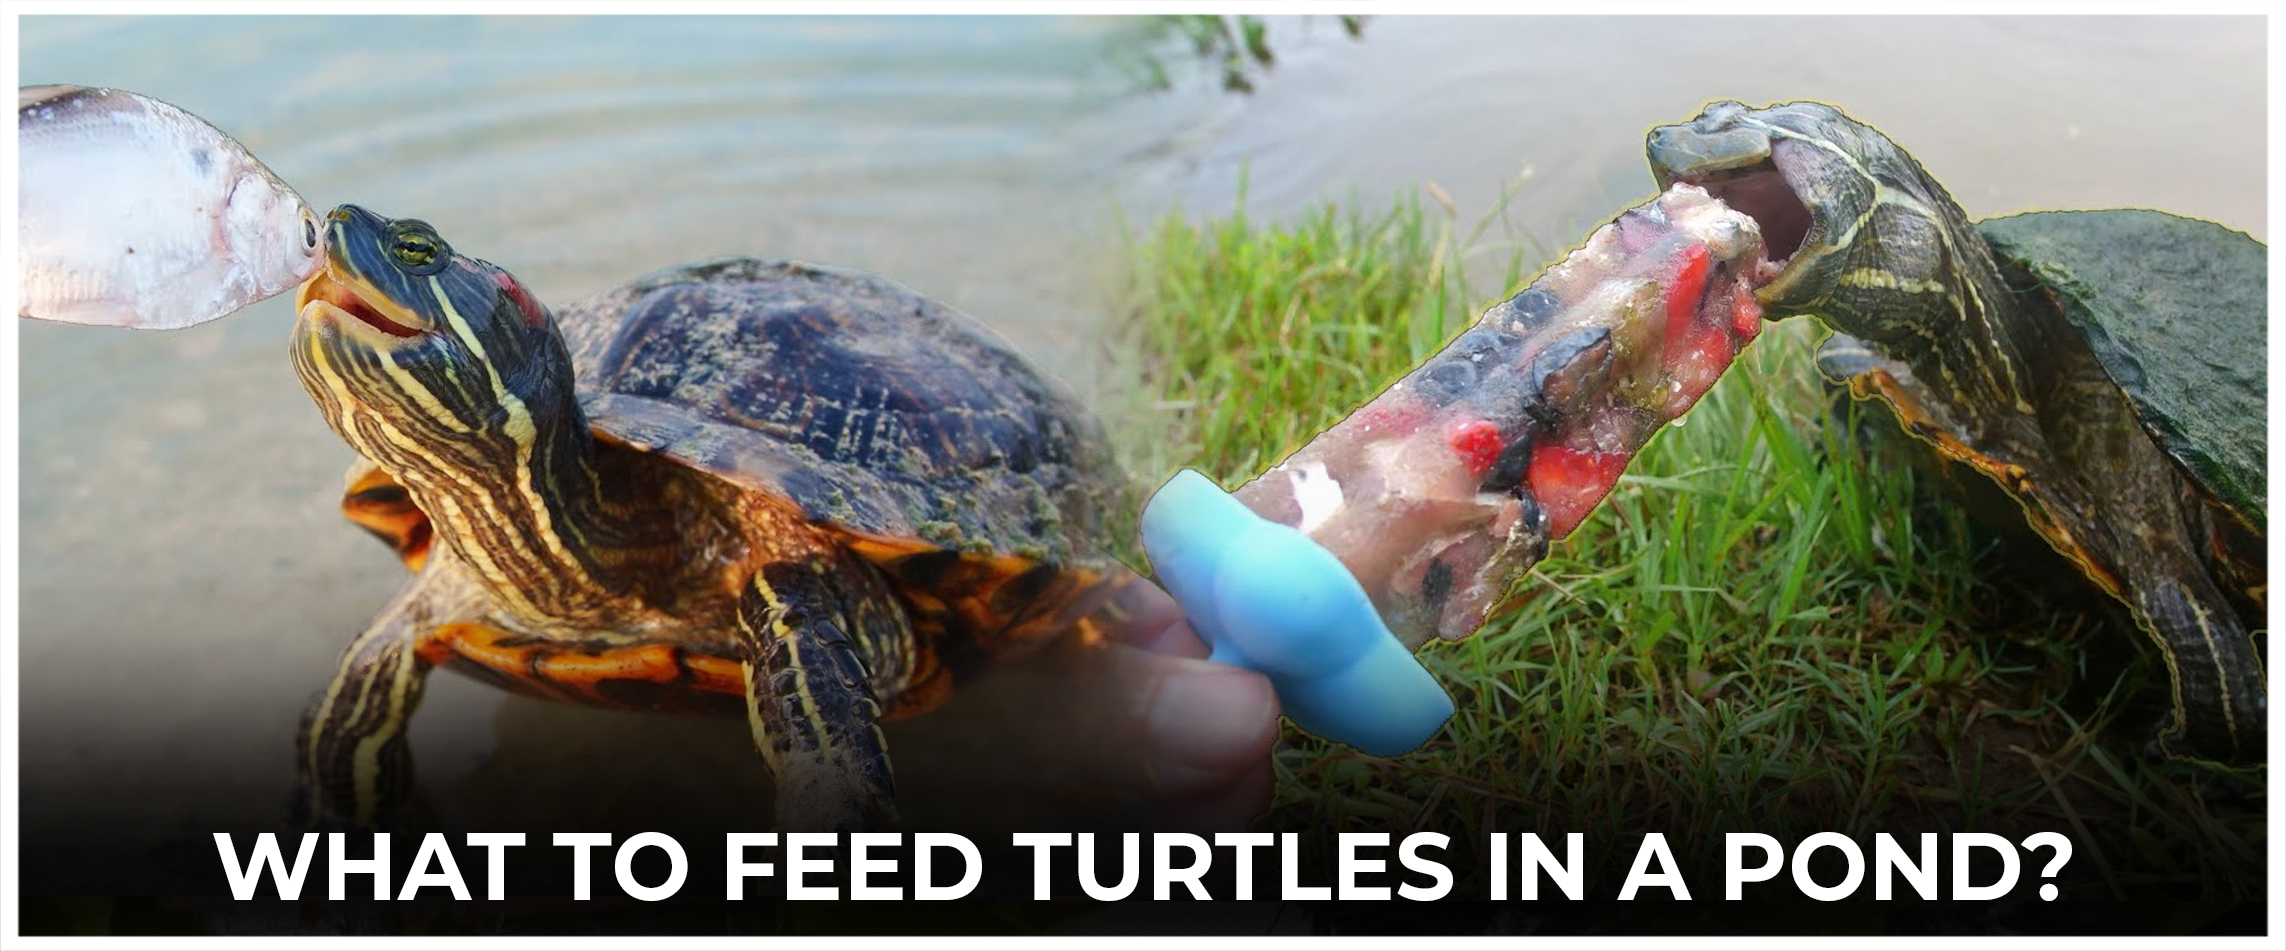
What To Feed Turtles In A Pond?
- Commercial turtle food pellets or sticks: Look for ones made for aquatic turtles and high in protein and calcium.
- Leafy greens – Turtles enjoy dark, leafy vegetables like lettuce, collard, and dandelion greens.
- Aquatic plants—Many turtles eat duckweed, water hyacinth, water lettuce, and other plants found in the pond.
- Feeder fish – Feeder guppies, rosy red minnows, or small feeder goldfish can be fed occasionally as a protein source.
- Insects – Crickets, mealworms, and other insects make an excellent protein treat for turtles.
- Commercial koi/pocreating pellets can supplement the turtle’s diet.
Fencing And Security
Doing good for nature means not exposing the turtle to wild animals or neighboring pets like dogs and cats, which can easily cause severe injuries to the turtle.
Exotic invaders such as raccoons and opossums also threaten turtles. Fencing keeps the turtle away from the pond or from wandering too much.
The hedge of the enclosure should be higher than at least three feet. Turtles are not strongly recommended with the mesh wall feeder, as they would try to eat through the wall and respond by hurting themselves.
Walls with wood as a material are an excellent way to stop the turtle from tending to escape. An electric fence surrounding the cag might add another layer of security against the attacks of big predators.
If the pond is shallow, using the enclosure’s roll cover (wire mesh) can serve as a great predator preventive measure (e.g., raccoons).
A wire mesh cover over the enclosure will only be possible if having a large pond.
However, the pond must be deep enough for the turtle to dive in to escape predators. Also create a basking spot in the middle of the pond (e.g., a partially submerged log or an island).

DIY Turtle Pond
The step-by-step manual follows. The key is choosing between the pre-form pond and the one you will create independently.
Materials needed
- A prepared plastic pond base or a pre-formed rubber pond lining.
- Sand
- Stones, slabs, bricks (for their stylish appeal).
- Freshwater aquatic plants, such as planting baskets, and marginal plants, such as water hyacinth, elodea, anacharis, water lettuce, and fairy moss, are also necessary.
- Place some basking areas next to elements like logs, rocks, etc.
Installing the pond (Rigid or Liner)
First, survey and clean up the area, including removing debris. Next, dig the site for the pond.
Doing this by hand may take a little longer, as the soil can be compacted in some places.
Essential: Before digging, contact the utility companies to mark water, electric, phone, cable, and gas lines. They are not to be ruined.
Rigid Formed Pond Installation
A ready-made pond works well. The hole’s dimensions in the ground must be appropriately large enough for the pond. A small margin should remain sufficient to be filled with stones. Setting everything up, determine if it is necessary to dig ditches to install water and power lines, depending on the preference. A filter, lighting, or fountain can be installed instead of any of these.
After that, remove the clear plastic liner and fill it with a 1- to 2-inch layer of sand. After that, slit the liner and the rug at the front of the hole, widen it a little bit, and slip it underneath. The electricity should only come from that one device and not anywhere else since it might be unpredictable. If there is too little sand, add more. Press down the already added sand as a final step to achieve that look you want.
The best pond-filling conditions occur when the water temperature is ideal for plant growth, and the water reaches the desired level. While leveling, make a level mark approximately 2 inches deep and ensure that the water bowl is standing/firm well. If not, rinse and add sand until a locked-solid base. If all else is good, the liner is undisputedly filled with water. From that, search for any couch buckling or creasing that can suggest weak flex.
Move the pusher struts to the buckles and refill with prestressed concrete until the liner becomes round again. Fill it half with dirt or sand. Use sand, which is easy to work with, but I prefer digging into the gaps with sand; sand is more convenient. Use a dustpan to ensure the dust will be dispersed in the atmosphere.
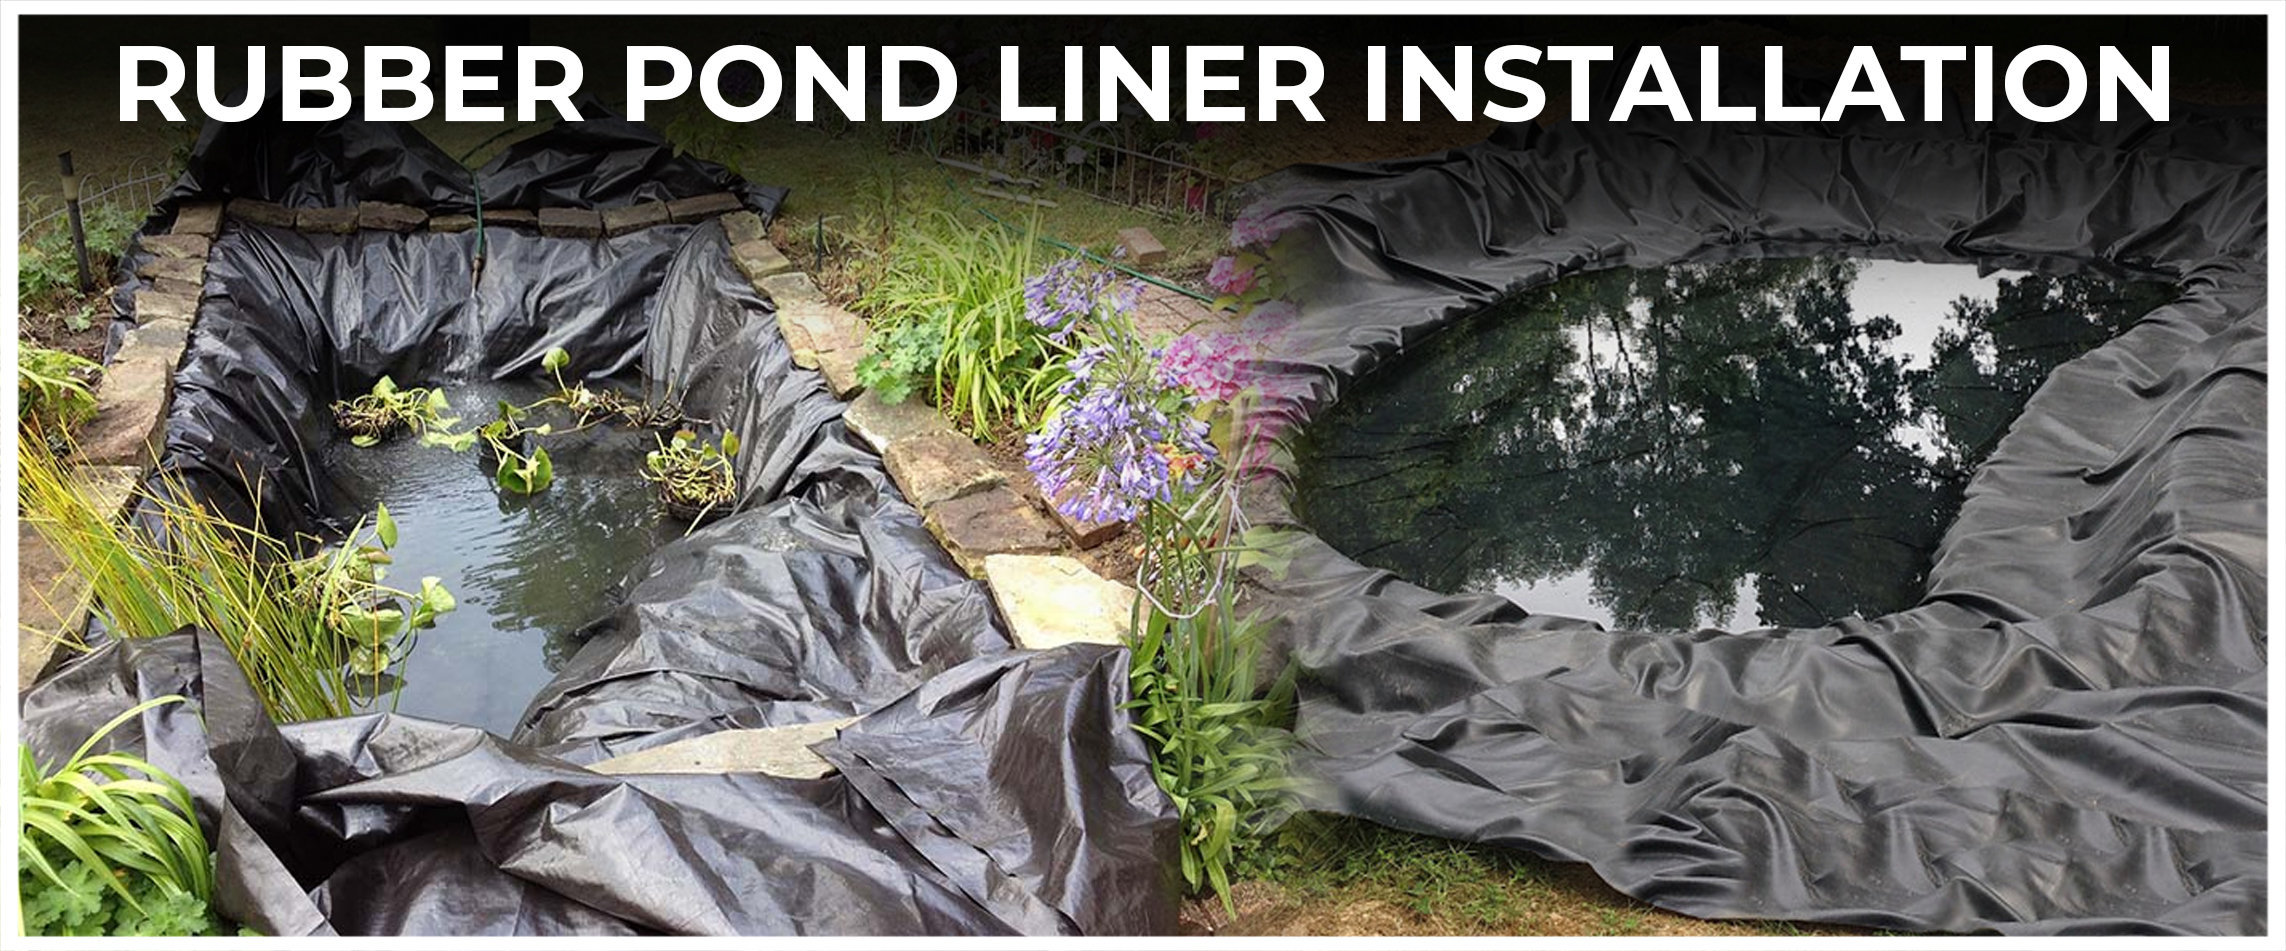
Rubber Pond Liner Installation
When working with a rubber pond liner, the procedure will be similar, and will have more flexibility in designing the shape. Like anything else, liner materials are different, so must pick the correct type for the task.
Then, when all the items are finished, add water. Pour tons of water into the pond and chlorine it. Attach the filters and the other water features had prepared for and want to include. Water features like waterfalls might not be the key to the turtles’ survival, yet they add beauty to the pond throughout time.
Place rocks around the rim of the planter. The liner must be suspended above the water level to protect the soil on the premises against the destructive effect of runoff. Doing it correctly is always easier than fixing it a few months later.
Building The Fence Around The Pond
The following action we need to take after we have placed the pond is to protect the surroundings. If the yard is fenced in, pretty close to being ready for turtles in the pond. Add another pair of fences to ensure the turtles are safe and sound.
The pond’s perimeter can be fenced with either 2—to 3-foot tall wood planks or a ready-made fence. On this note, it will be 10 square feet by 10 square feet, which is 64 square feet.
Arsenic-treated lumber like Chromated Copper Arsenate (CCA) is one reason to be aware of when selecting the lumber. We don’t want the plastic to stain the aquatic life with the chemicals from the construction materials that may leak from the houses.
Materials Needed
- ( 4) Goals – post is 2-in x 4-in and comes in 2-ft and 4-ft lengths for larger fences
- Reinforce – 1 in x 12 in x 8 ft.
- (1) order of deck screws
- (4) small stakes
- (1) role of twine
- Tools needed
- Post hole digger
- Shovel (Spade/digging or both)
- Claw Hammer
- Tape measure
- Level
- Drill (if using screws)
- Dustpan (optional)
Measure the area for covering using a tape measure, and put a stake at each corner to establish where the posts should go.
The twine tying at each post will mark the parcel 8×8 in size.
After that, post-hole digger and dig out the slots for the PIs first, then the trenches for the 1×12s to lay in laterally.
Make the border depth at least 12 inches, which is impenetrable for all digging turtles (water or box) and, in the same case, for animals attempting to enter.
For the trenches on each side, put the treated landscape timber 8 ft long in the trenches and fasten them to the posts with the screws.
Raise the level again until the desired height. The reach of a goal, in this case, is 3 ft.
Alternatively, incorporate wire mesh into the enclosure as additional protection or use an electric fence to keep the predators away.
It may also depend on whether there is any potential threat. Do not, however, isolate yourself in the name of growth.

Filling the Enclosure
After constructing the grate canopy and securing the enclosure, add as much green foliage as possible. Consider them if to introduce particular plants in the research process. This turtle shouldn’t be planted with plants that can be poisonous to the turtle.
Use aquatic plant baskets to create marginals on either side of the pond. These oxygenating plants play an essential role in healthy pond life.
Fix or make them perches that can be hung on shelves that can be made or that come with premade ponds. Fill the ponds with rocks so the wind will not blow away the plants.
Additionally, consider basking places, such as logs, rocks, or even floating islands.
The enclosures might contain harmless, turtle-safe plants such as pansies, mulberries, dandelions, roses, and hibiscus. Many of these plants are the ones on which turtles depend for food and shelter.
Put the stones and logs (with holes) inside the pens. Logs and thickets served as turtles’ hiding places, and turtles also felt secure.
Things to Consider
- Start with your homework before doing anything.
- The construction of shade and sunlight must be on the designer’s to-do list.
- Purify water from the pond and focus on the pH issue.
- Putting partially submerged logs on the shore can generate unique spots for basking. If the log is to be on the beach, it needs to be brought to the pond. Turtles tend to sit on trunks in the pond and on the bank or go into the water more.
- The lake needs to cover this aspect, too.
Frequently Asked Questions
What must be the turtle pond’s most suitable dimension and depth for a backyard?
The specific turtle species determine a turtle pond’s ideal size and depth. To tiny turtles, a pond having a minimum capacity of 100 gallons is recommended. Maintain a depth of 18″ minimum to stimulate natural swimming.
Larger species may need larger pond sizes to meet their various size and habitat requirements. Search for the particular necessities of the turtle variety to develop a suitable shelter, considering not only the length, width, and depth for a better environment.
Why water quality is a crucial factor when designing backyard turtle ponds?
Preserving water quality is paramount for a turtle’s liveability. To control water contamination, remove debris almost constantly, like leaves and uneaten food. Improve the filter so it works better for the pond size.
This will make the water clear of dirt. Regularly observe the pH, ammonia, and nitrate levels in the water. Provide a proper basking site with enough UVB light to maintain the health of your turtles.
Perform partial water flushing when necessary, and also add water plants for increased filtration. Continual observation and adequate maintenance will guarantee a thriving ecosystem for the turtle pond.
Wrapping it Up
Choosing between an outdoor turtle pond and an indoor aquarium, there are certain benefits for the animal under consideration. Nevertheless, ponds are more profound, meaning that the turtles come into contact with natural lighting (sun), the best UV light.
As a DIY enthusiast, construct the pond by yourself, depending on the preference and budget. This is a tough job; only approach it if you are crafty or motivated to figure it out. Another possibility is that hire a professional pond builder.
Climate support is vital before cultivating a pond for the tapped turtle variety procured or sought after. Firstly, seek to bring in more turtles by ensuring enough room for them to live.
Lastly, for the safety of the turtles, the pond needs to be fenced to avoid predators like raccoons, foxes, and dogs.