
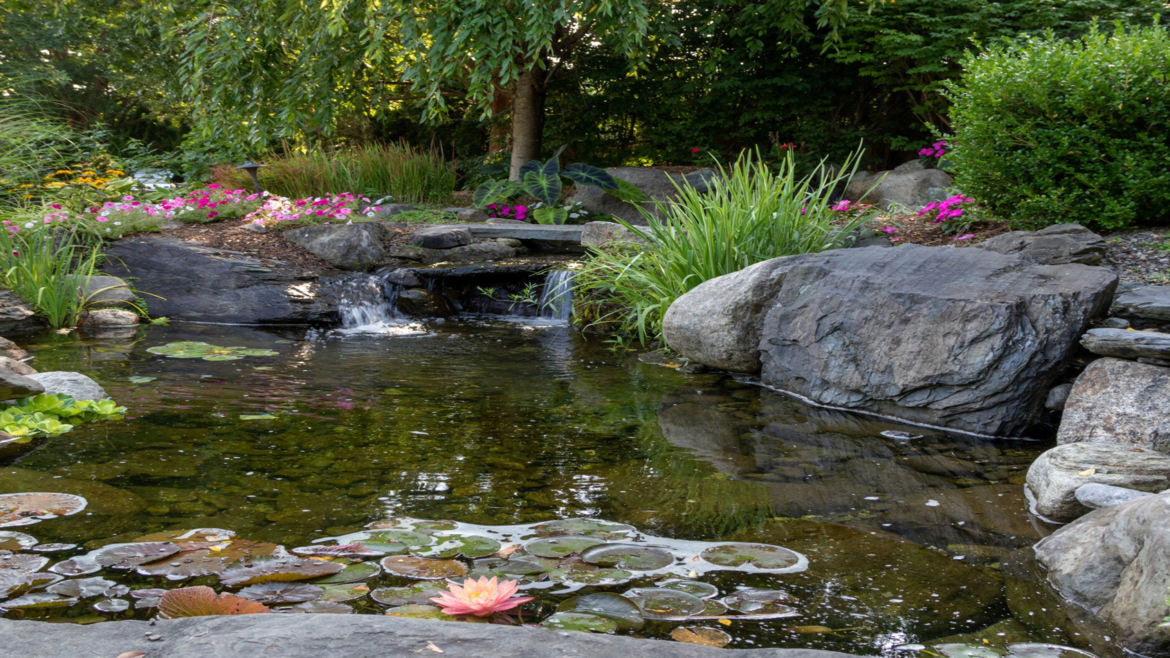
Every time you walk into your garden with a water feature, you are one step closer to nature. A backyard pond is the most beautiful water feature in the garden. Construct a special place that your family will love, something that will set the space apart and make it unique.
If the need is something like digging a pond, Midwest Pond Features and Landscape experts can provide practical tips, techniques and services to help create the dream pond.
This comprehensive guide will explore pond ideas and examine the art of pond construction and installation.
Enriched by our tips and services, it doesn’t matter whether you’re attracted to the inner beauty of a water garden or pond. We will give some motivation and understanding together to realize the goals.
Get ready to use your imagination and start making a fantastic garden in the backyard.
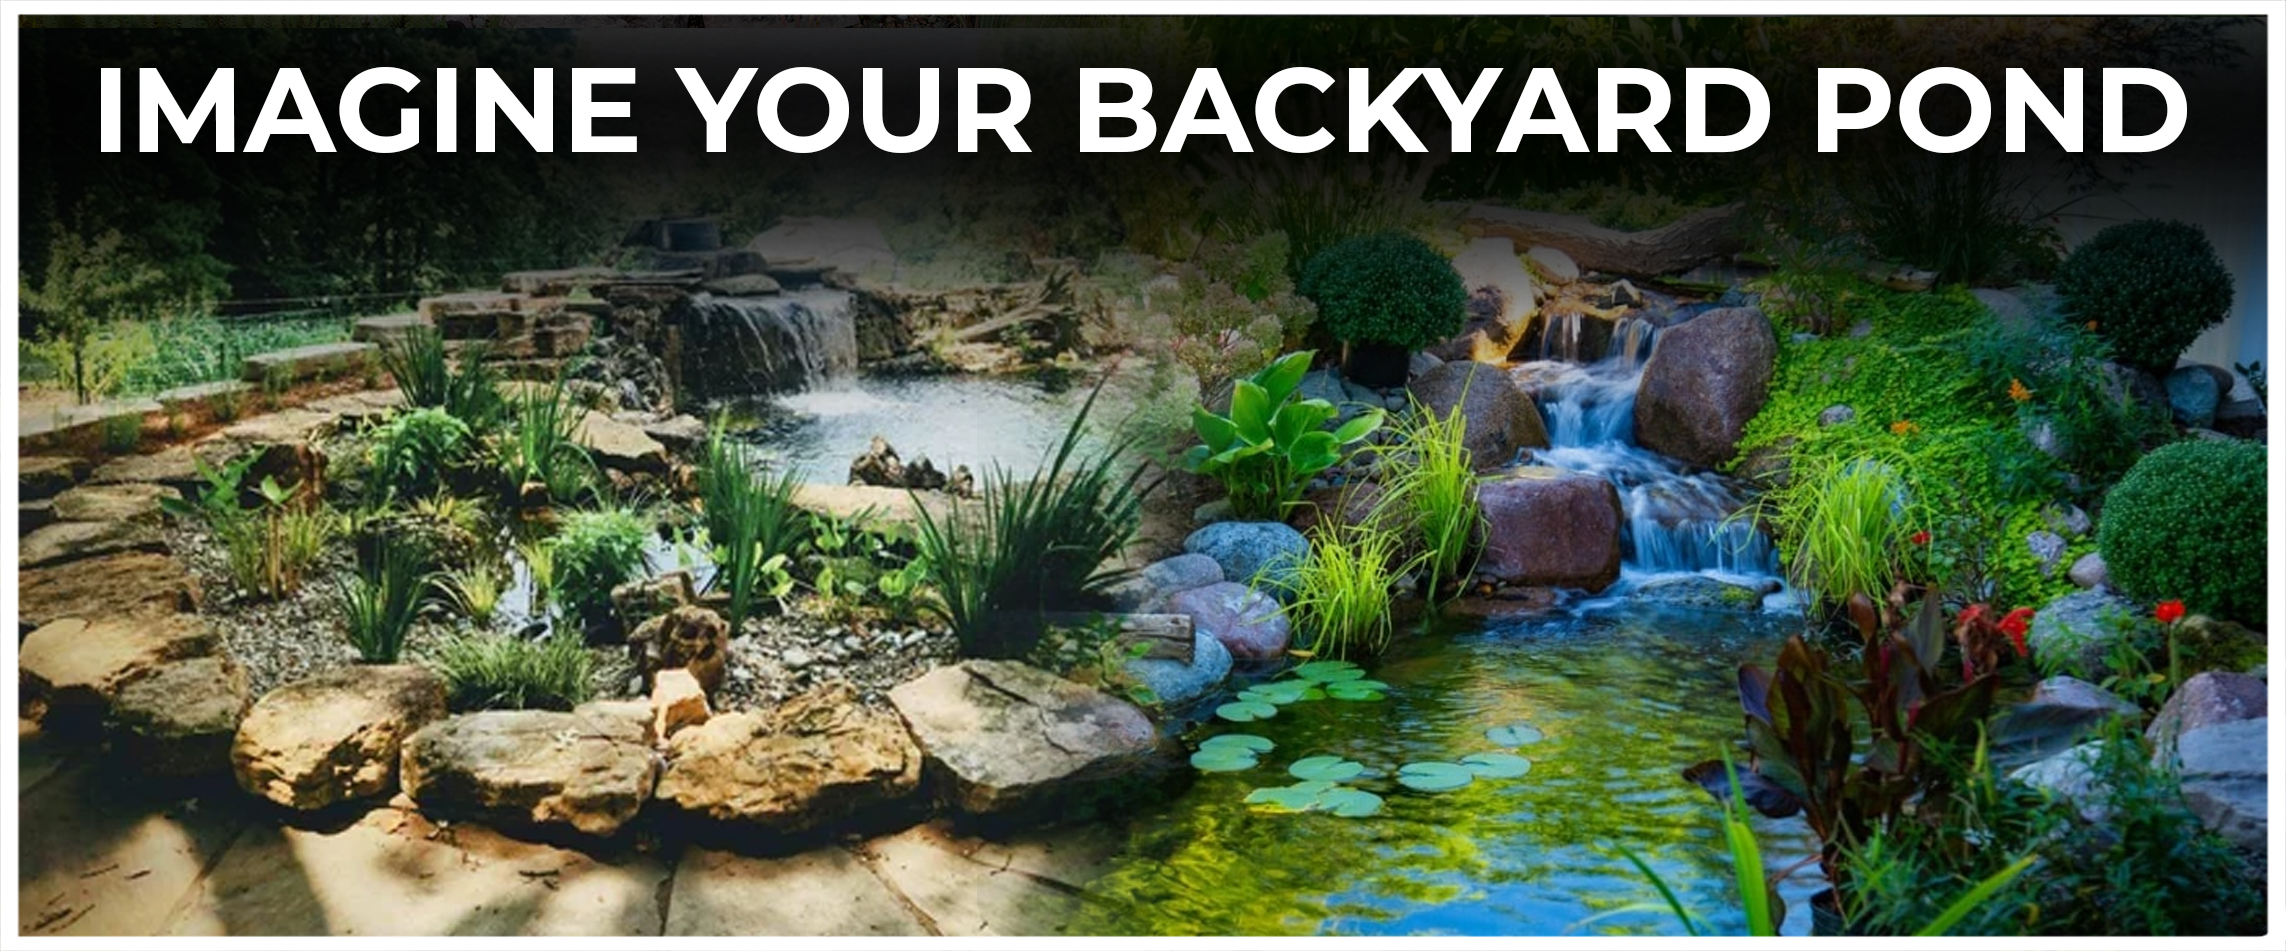
Imagine Your Backyard Pond
Before starting, it’s essential to have a clear idea of what you want to achieve. Consider the space, the look of the backyard, and the preferences.
Can you imagine a small, calm pond with many plants around it or a pond filled with beautiful, colorful fish? Look at ideas for backyard ponds and find pictures to help create the vision.
Find The Perfect Place
Finding the right place to build a koi pond is critical. Find a place that gets good sun and shade during the day.
Do not put the pond near trees, as leaves falling into it can make it harder to care for. Also, consider how easy it is to get water and electricity and how close the place is to the home for convenience.
The Size And Shape Of The Pond
The size and shape will depend on how you want it to look and how much room there is. A small pond is suitable for small gatherings, while a big pond has more space for fish and water plants.
Use curved edges or different shapes to make things look more like nature. Be brave and think creatively.
Materials And Tools
Now it’s time to get what’s needed to build the pond. These include plastic liners, big rocks, pumps for moving water, filters for cleaning water, and lights that go under the water.
Find suitable suppliers nearby to ensure you get high-quality products that suit your needs.
Constructing the Pond
Creating a pond requires a few essential steps. First, use a hose or rope to draw the shape of the pond. Next, dig the area for the pond at different koi pond depths for plants and fish.
After digging the hole, put in the pond liner and ensure it is tightly sealed so water doesn’t leak out. Put rocks, big rocks, and other pretty things to make it look like nature.
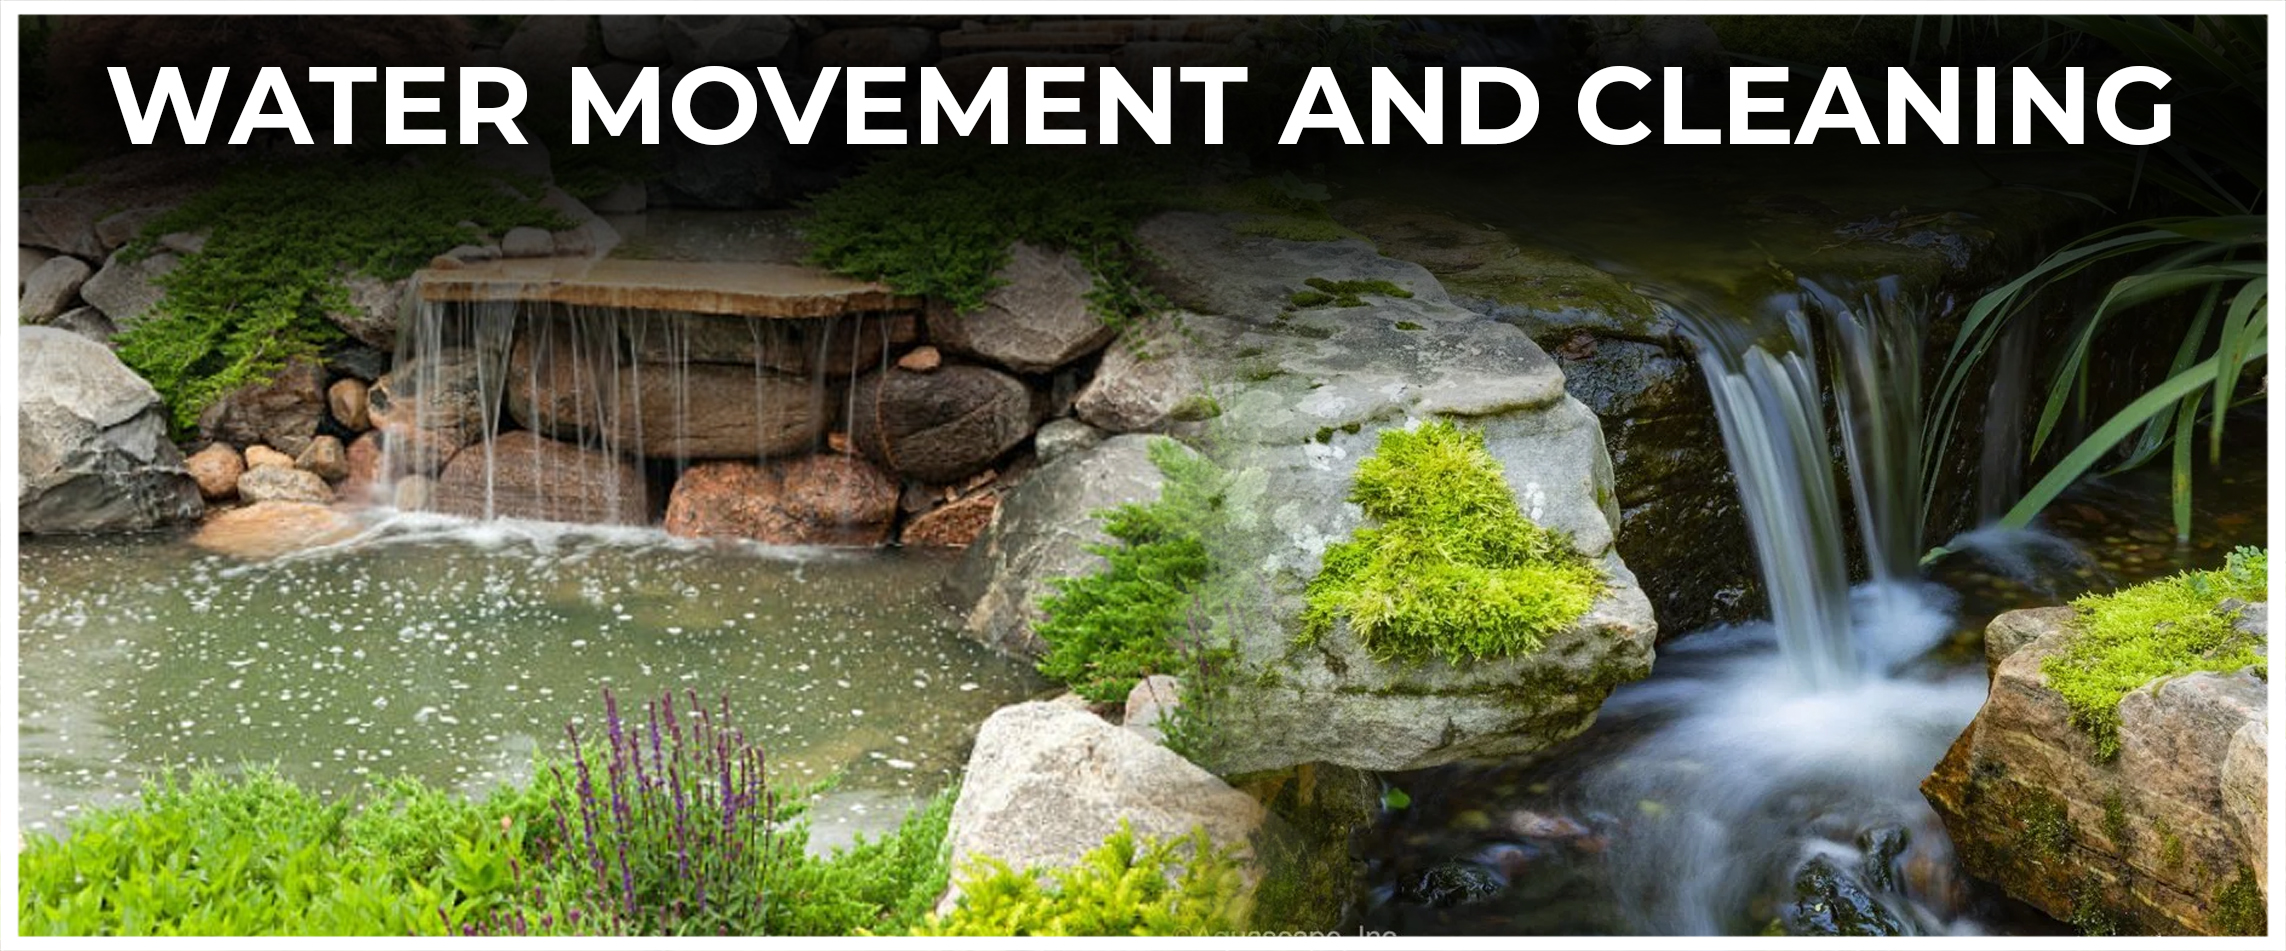
Water Movement And Cleaning
Keeping the pond’s water movement good and clean is essential to keeping it healthy and clear. Put in a good water pump and filter to ensure the water stays clean and doesn’t get stuck.
Think about adding a waterfall or fountain because the sound of moving water tranquilizes you.
Selecting Fish and Water Plants
Koi are a popular and colorful choice. Study what koi fish need, such as the proper water temperature, enough oxygen, and the right food.
To make the environment more natural, add different water plants that give shade, create oxygen, and clean the water.
Talk to a pond expert to choose the right plants for the current weather. Also, ask them for pond fish feed for healthy fish.
Safety Rules
When making a pond, it’s essential to ensure it’s safe, especially if you have kids or pets. Put a strong cover over the pond or use a net to stop accidents and keep animals out for pond care.
The water should be deep enough to keep predators like raccoons and herons away. Install shallow areas or shelves in the pond to provide a safe place for small animals and helpful insects to live.
Saving Water
As a good gardener, it’s important to consider saving water and maintaining the backyard pond.
Add a system to collect rainwater to fill the pond when there is not enough rain. Redirect rainwater from the gutters or use a pretty rain chain to guide water into the pond.
Using a recirculation system and planting drought-resistant plants around the pond can help save water.
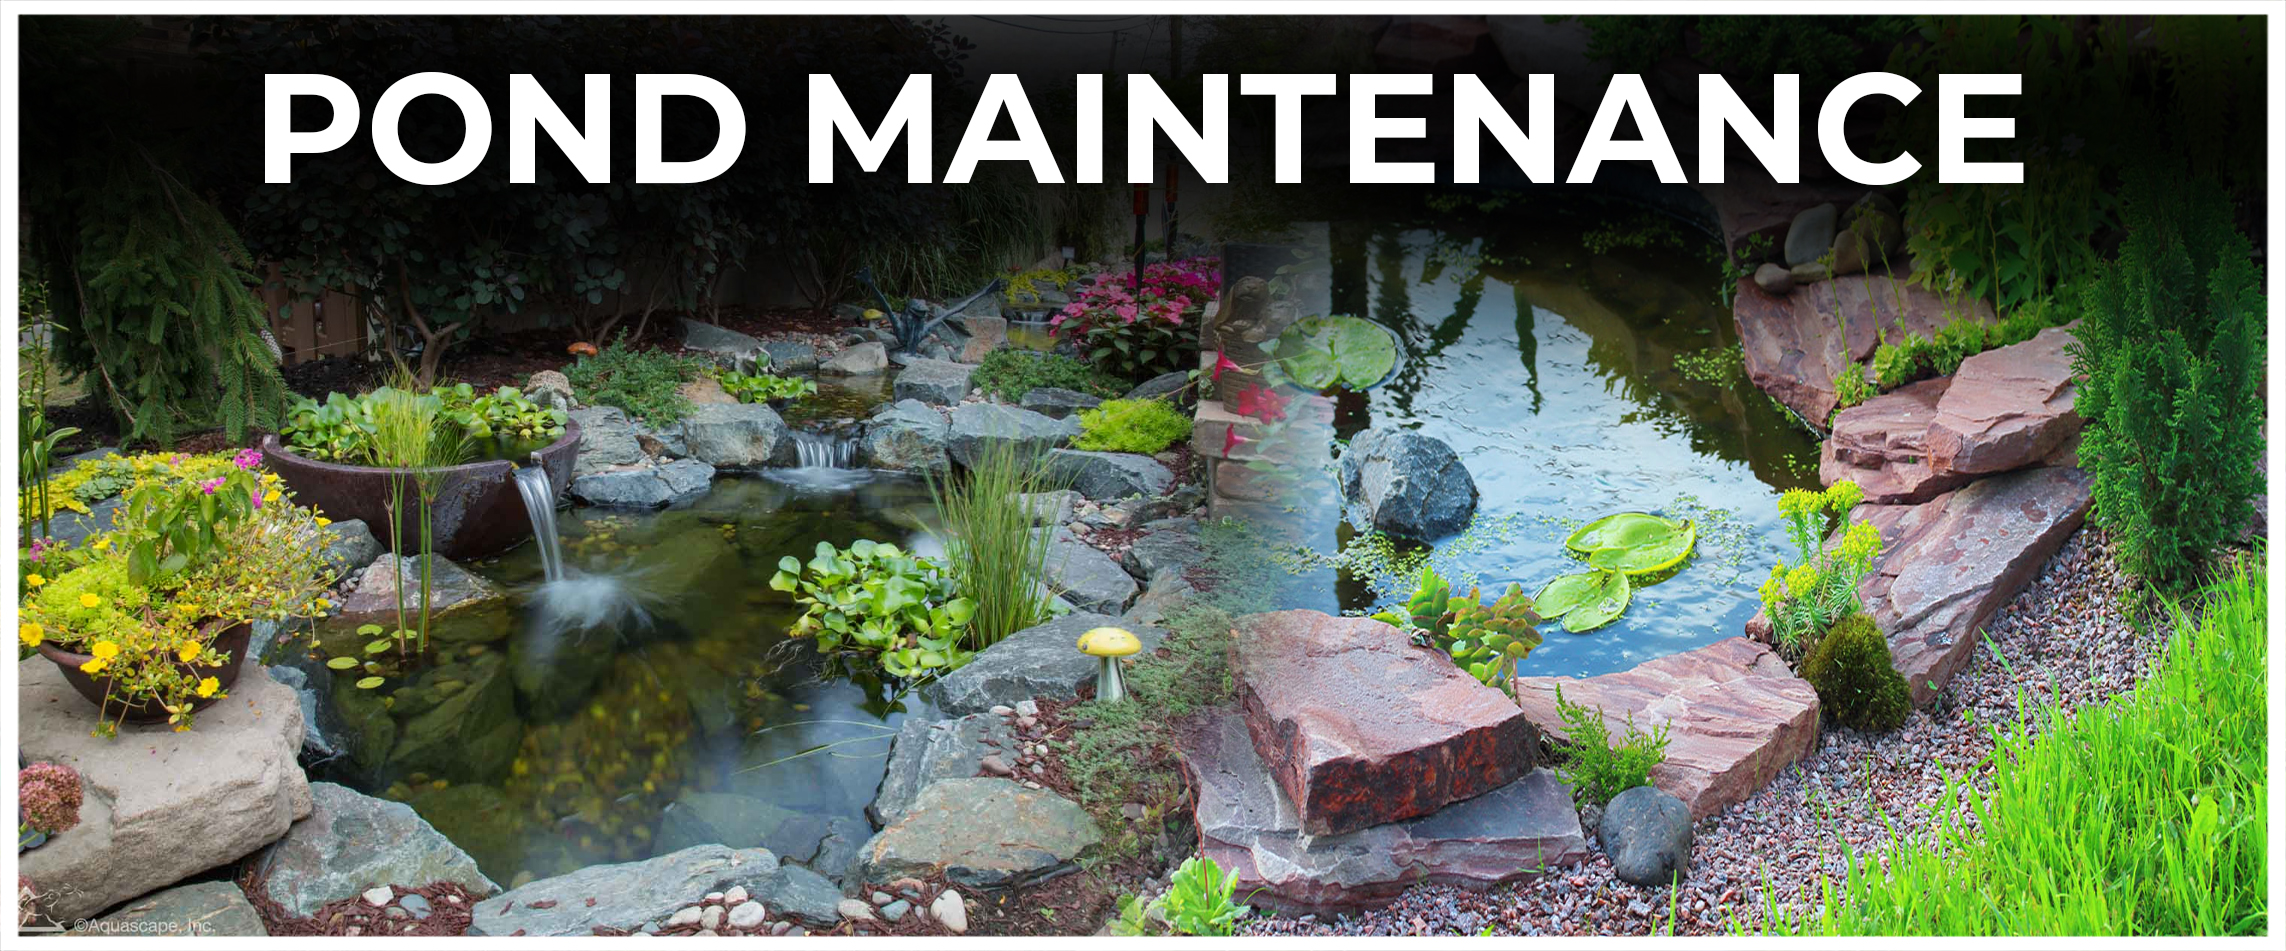
Pond Maintenance
Like everything else in the backyard, the pond needs to be regularly maintained so it looks nice.
This involves removing dirt and leaves, keeping the water clean, and trimming plants when necessary.
Test the water regularly and maintain the tank regularly to stop algae from growing and keep the fish healthy.
Improving the Atmosphere
Add lights and plants to make the pond in the garden look more excellent. Put underwater LED lights in the pond to make it glow at night and look cool.
Furthermore, putting lights in the right places around the pond makes it look even more beautiful and draws attention to it in the outdoor area.
Plant ferns, ornamental grasses, and colorful flowers around the pond to make it look more natural and fit in with the rest of the garden.
Ask For Advice
Hiring an expert pond builder who works nearby is a smart idea. Trust Midwest Pond Features and Landscape to install the pond. We have lots of experience and love making beautiful water features.
We can turn the outdoor space into a peaceful and amazing place.
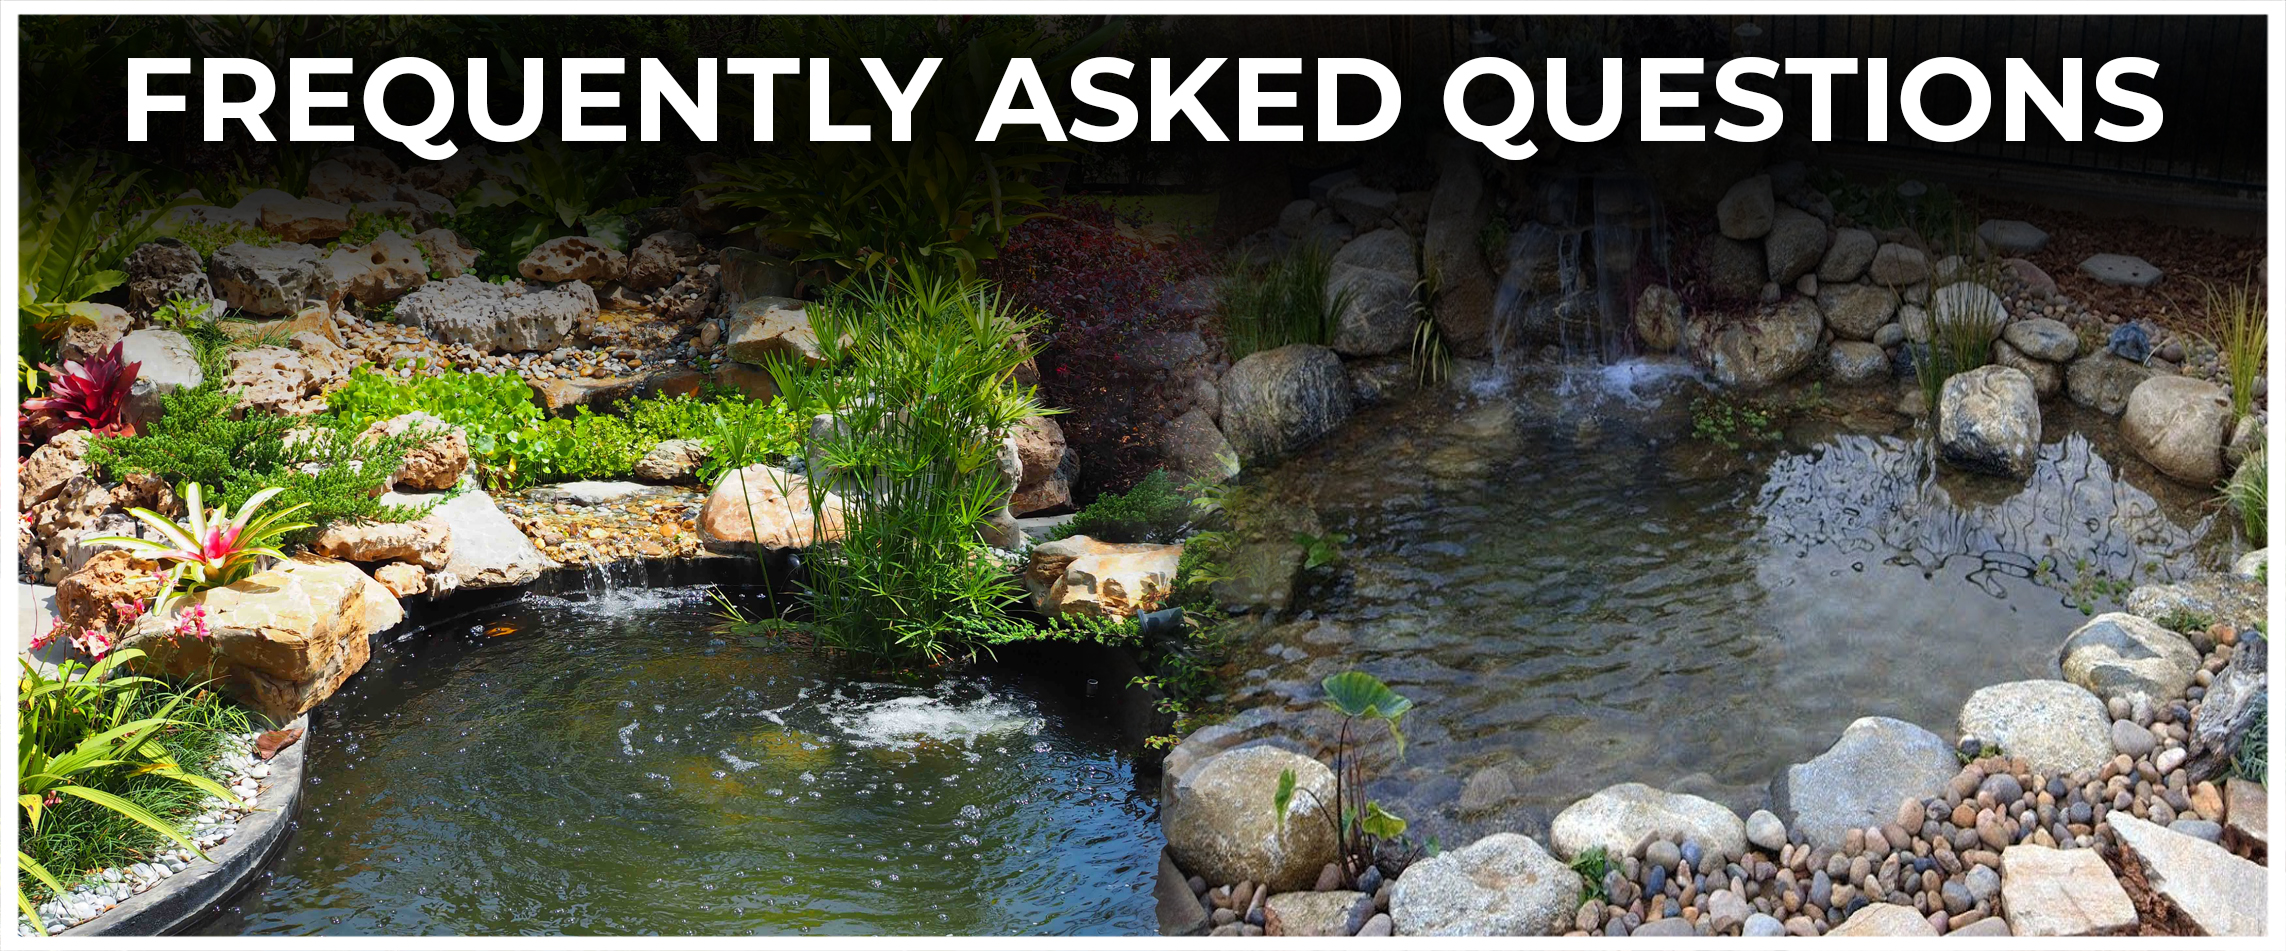
Frequently Asked Questions
What basic steps should be taken while putting a pond in my garden?
Here are the key steps to consider for a pond installed in the garden, which will make it perfect. Firstly, the location selection process, while considering considerations like sunlight exposure and accessibility, has to be done with extra care.
Targeted digging is required to shape the pond, paying attention to various koi pond depths to sustain various aquatic plants and animals. Set a robust pond liner in place to prevent water leakage and put protective underlayment in place.
Install a well-maintained filtering system to ensure good water quality. At the same time, a pump should be included to aid in the circulation and aeration of the water.
Lastly, be selective when choosing and introducing aquatic plants and fish. This will ensure the harmonious coexistence of other creatures in the pond ecosystem.
What is the action strategy for maintaining pond health after the first step, which is pond establishment?
Have regular maintenance, which is of great importance in keeping the pond in good shape and lasting. Regularly measure the water’s pH, ammonia, and nitrate levels.
Catch up on debris and leaves on the surface and bottom of the pond, and clean the water regularly to prevent it from getting polluted.
Moreover, to ensure that the filtration system is functioning perfectly, the filter should be inspected and cleaned periodically.
Next, please remember to keep feeding to a minimum, as too much food pollutes water. Routinely inspecting pipes for leaking and immediately repairing breaks can help save water.
Wrapping it Up
Congratulations! You now have the information and motivation to build a fantastic backyard pond. Make a beautiful oasis in the backyard by learning about different pond ideas, creating and installing a pond, and thinking about lighting, plants, safety, and upkeep.
So, get ready to work, be creative, and see the ideas come to life. Enjoy the peace, beauty, and happiness the pond will bring, and get ready to experience the amazing world of nature. With just a few steps, you can create the dream backyard paradise.